What to Look For: Inspecting your Insulation and Weather Stripping
As the cold weather approaches and your furnace begins its annual duties, we often think of ways to make our homes more energy efficient. One thing that can make a big impact on energy savings at a reasonable cost is inspecting your insulation and weatherstripping. Over time, weatherstripping can become worn out and damaged which then creates drafts. Insulation can settle over time, thus reducing its R-value and becoming less effective. Below, we’ll discuss some effective ways to check your insulation and weatherstripping to see if any action is needed.
Weatherstripping
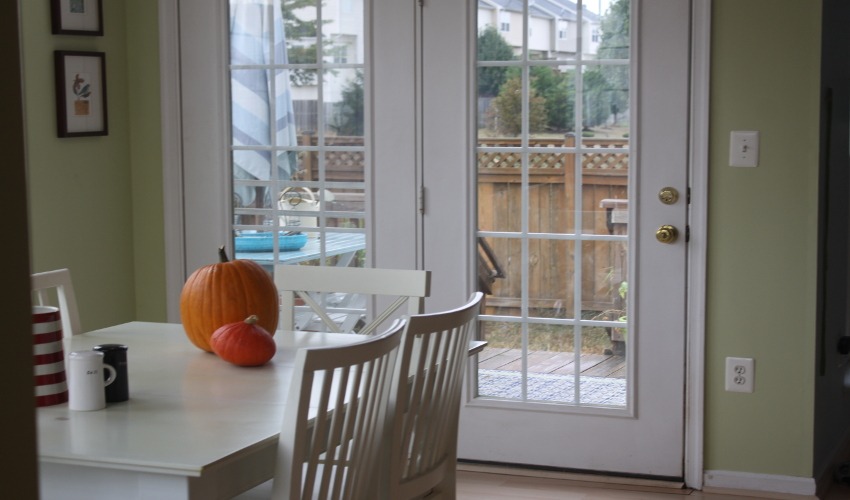
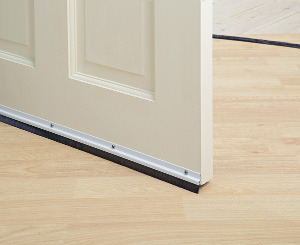
First, do a visual inspection around your doors and windows. With your door open, take a close look at the weatherstripping around the entire doorway. If you see any missing sections, damage, or if it has become unfastened, then the necessary action is obvious. Sometimes, however, weatherstripping issues may not be so obvious. Standing inside with the door closed, look for any gaps where outdoor light is slipping past the weatherstripping. Another technique is to hold a lit stick of incense up to the door frame and slowly move it along the weatherstripping. If the smoke’s gentle rise begins to flutter, then it may indicate an air leak. In either case, this is likely due to the weatherstripping becoming compressed over time and it should be replaced.
The procedure is very similar for windows. Inspect around your windows to see if the weatherstripping is physically damaged. Often it can become crushed or has simply fallen out. If there doesn’t appear to be any physical damage, then a test with a burning incense can detect a draft.
Insulation
The most obvious way to tell if you need more insulation in your home is if you have noticed the development of large ice dams or large icicles on the roof of your home. A properly insulated home will keep ice buildup to a minimum.
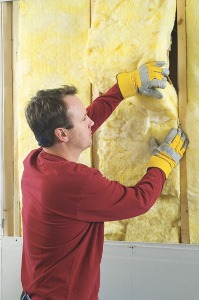
Many older homes may not have insulation in some outer walls, or may have loose insulation that has settled over time. One way to check without causing damage is to inspect around electrical outlets on the outer wall. To do so, first ensure that the power is shut off to the outlet. Remove the cover and shine a flashlight into the gap around the outlet box. You should be able to see insulation if it is in adequate supply. If you are able, pull out a small amount to determine what type of insulation it is.
Since a majority of heat loss in homes is through the attic, it is important to have an adequate amount of insulation up there. Checking to see if you have enough is not that difficult. If you have a way to get up there, simply shine a flashlight across the attic floor. If the insulation is even with the exposed floor joists or below them, then it is probably a good idea to add more. If however, the insulation is still above the level of the floor joists, then you should be in good shape.
The Department of Energy has a helpful online factsheet for determining the R-values of insulation that is already in your home, as well as an online ZIP Code insulation calculator to help determine how much insulation is right for your area.
For more information on how your home impacts your utility bill, go to this Inspection Report Network blog post written by Kelly Fox.